How to Create a Facebook Pixel?
In order to use this tool, you must have one business website. First, remember to access one Facebook business suite account before you start.
Steps to Create Facebook Pixel:
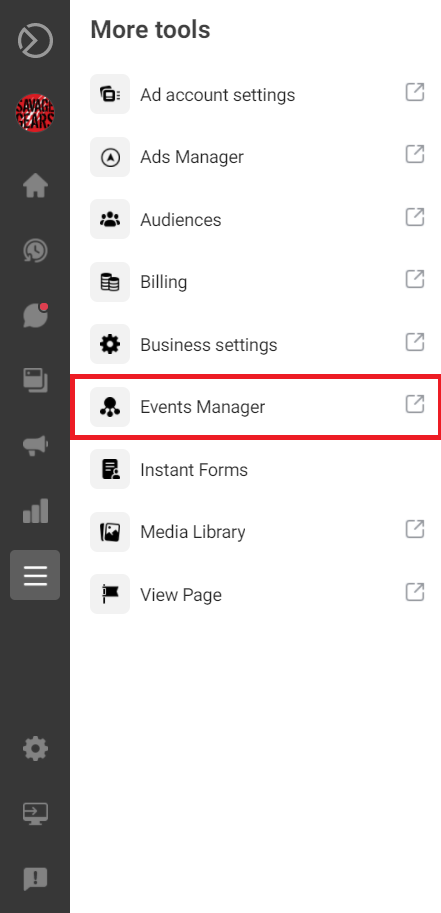
- Select “More tool” at the left hand navigation side bar.
2. Select “Events Manager”.
3. Select “Pixels” from Data sources at the left hand side bar settings.
4. Click Add button.

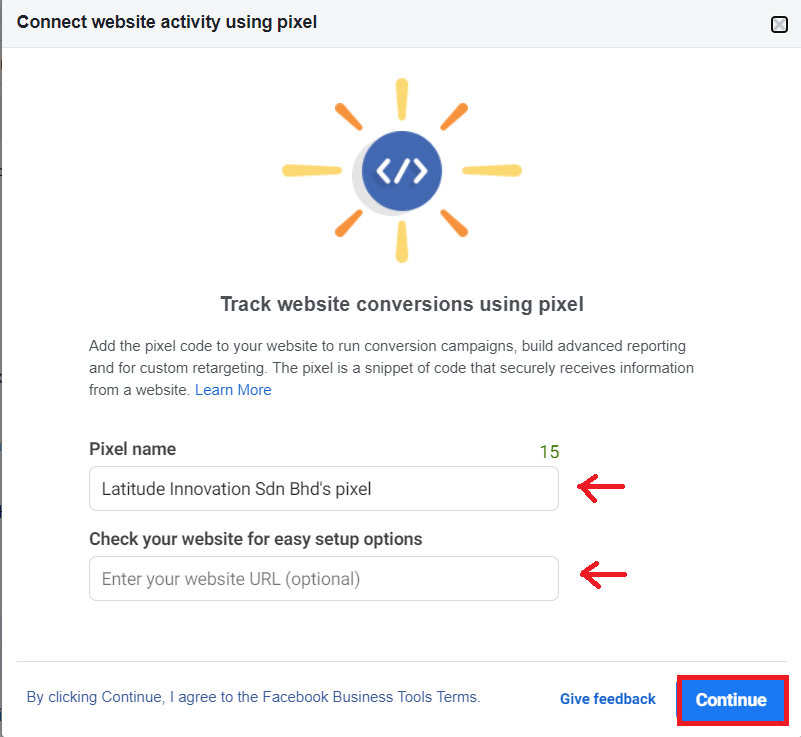
5. Create a pixel name for your pixel and insert your company website. Then, click “Continue”.
How To Install The Pixel To WordPress?
Note: This way of install is used for second pixel installation to a WordPress that has an pixel activated. Please refer to this link (https://latitudeinnovation.com.my/2020/02/25/how-to-install-facebook-pixel-in-your-wordpress-site/) if you are first time install.
1. You will see this after follow the step from above. Choose “Set Up Manually”
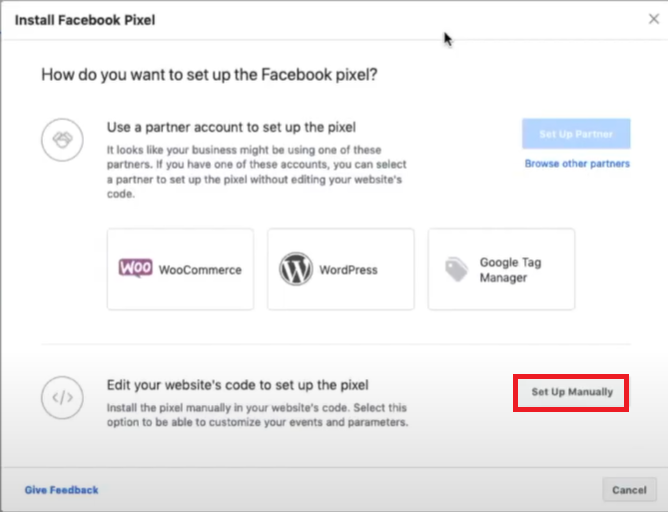
2. Copy the code that given.
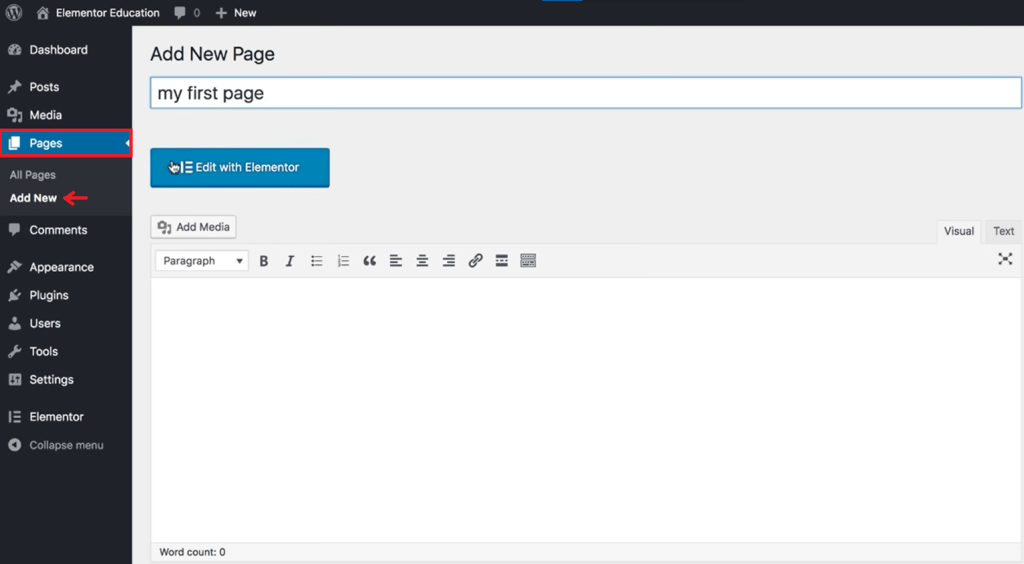
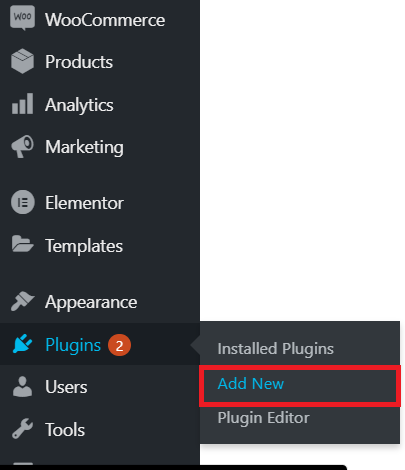
3. Back to your WordPress site. Choose “add new” from Plugin
4. Go to search column and type “Header Footer”. Then, Install the “Elementor – Header, Footer & Blocks Template”. If you have install it, just active it.

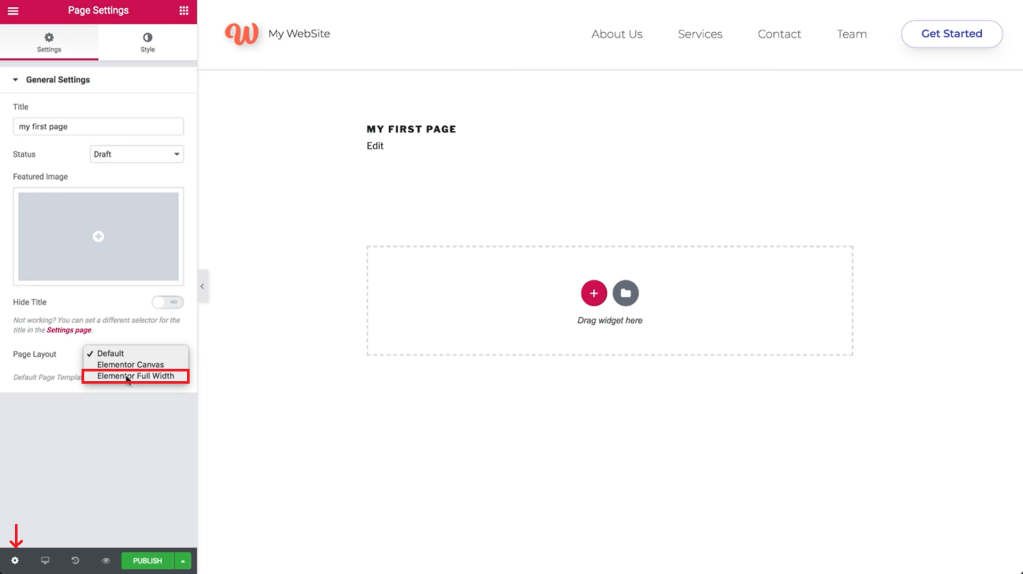
5. Go back to side bar and search Header and footer from setting.

6. Paste the code that You copy from the pixel site. Then click “save” at the left bottom of the page.

7. You may check the website does the pixel installed and activate by using Facebook Pixel Helper.
Note: You you don’t know where to download and use Facebook Pixel Helper, please refer to this link -> https://latitudeinnovation.com.my/how-to-install-facebook-pixel-in-your-wordpress-site/