What is DirectAdmin and cPanel?
Both of its is a graphical user interface (GUI) control panel to manage your website for instance files, databases, domains, email and etc.
Table Of ContentsSteps to move website from DirectAdmin to cPanel
Download WordPress files to your device
- Input your host IP, username and password to connect to old server using FileZilla

- Go to the folder where your WordPress installed, it should be domains > yourdomain > public_html
- Download all the files and folders inside public_html to your device

Download database file to your device
- Login DirectAdmin control panel with your username and password
- Go to ‘MySQL Management’

- From MySQL Management page, click ‘phpMyAdmin’ below Create new Database at the top of the page

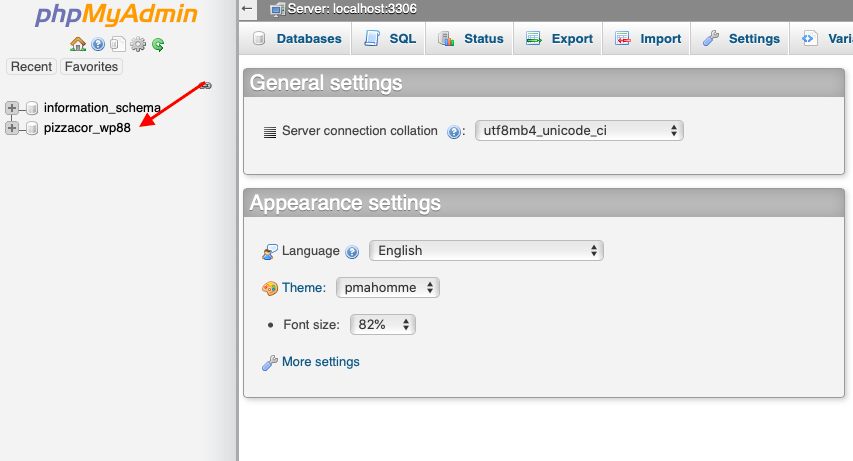
- You will be redirected to phpMyAdmin, input your database username and password to login

- Select the database you want to backup and Navigate to Export tab

- Keep the Export method as Quick and format as SQL and click ‘Go’ button
- SQL file with extension of .sql will be downloaded to your device
Add domain in cPanel
Login to your cPanel and add your website domain
Upload WordPress file to server
- First start with create ftp account in cPanel
- Go to ‘FTP Accounts’ under Files section

- Input username, password, and it’s directory and click ‘Create FTP Account’. Directory normally is public_html.

Access to FTP server using FTP client, FileZilla
- Input the host IP, username and password you create in step above to connect to new server
- Upload WordPress files you downloaded just now in your device to public_html folder

Create database on server
- Go to ‘MySQL Databases’ in cPanel

- Type a name for new database and click ‘Create Database’

- Create a database user by input username and password

- Add created user to created database

Import database to new server
- Click home icon and click ‘phpMyAdmin’ under DATABASES section

- You will be redirected to phpMyAdmin in new browser tab
- Select newly created database and go to ‘Import’ tab
- Upload downloaded sql file (gzip, zip or sql), uncheck partial import and click ‘Go’ button to import data into new created database

Update database connection
- Go back to ‘File Manager’ in cPanel

- Go to ‘public_html’ and edit ‘wp-config.php’ file


- Change the database name, username and password to the one that created as steps above

- Click ‘Save Changes’ and Close it

Update DNS
- Edit your domain DNS and point it to new server
- Now you can access to the website using new server IP
Still have questions? Contact us for server side problems.