How to create a header with Astra theme?
First create a header, to access the Astra Header Builder, log in to your WordPress dashboard and go to Appearance > Astra Options > Header Builder from the left sidebar, as shown below.
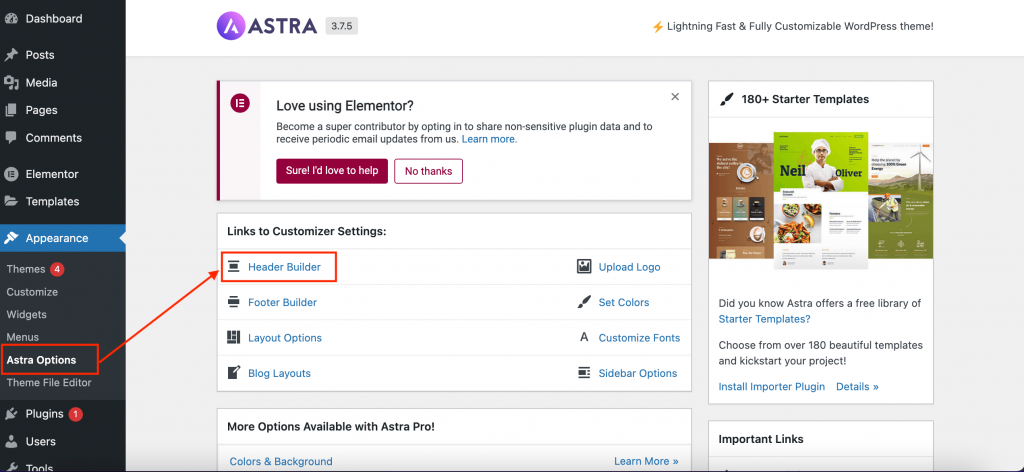
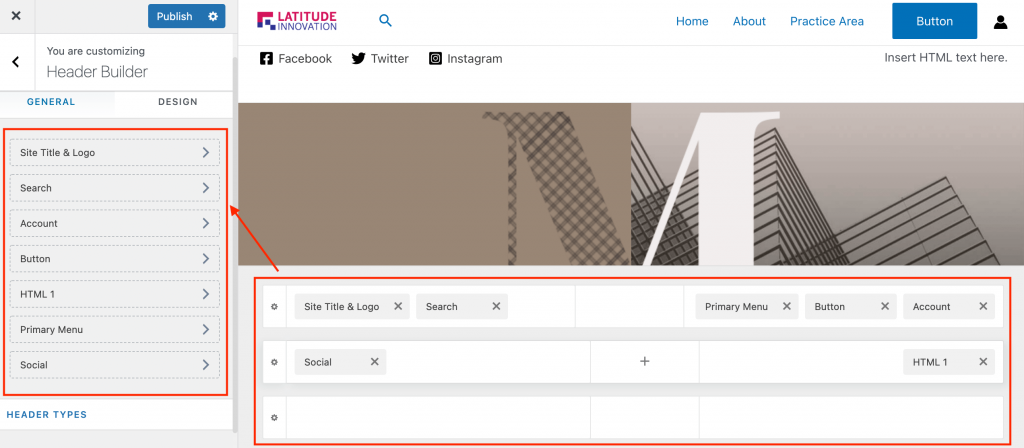
Click on it and it will take you to the Header Builder section of the WordPress Customizer. The interface should look similar to the one we have here.
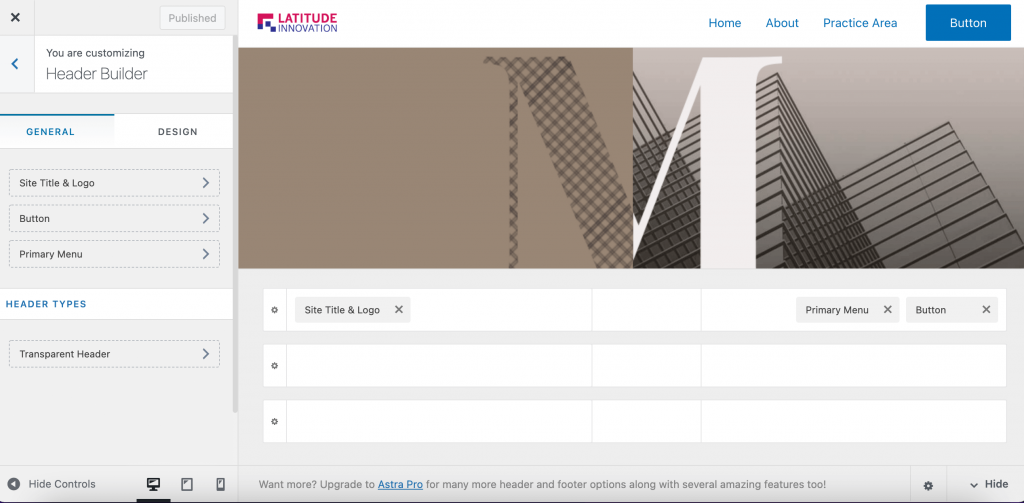
As you can see, the header builder is divided into three vertical sections, one stacked on top of the other. There is a “Main Header” in the middle, a “Header Above” at the top, and a “Header Below” at the bottom.
Each header has its own set of “Header Settings”, which you can access by clicking on the gear icon to the left of the header.
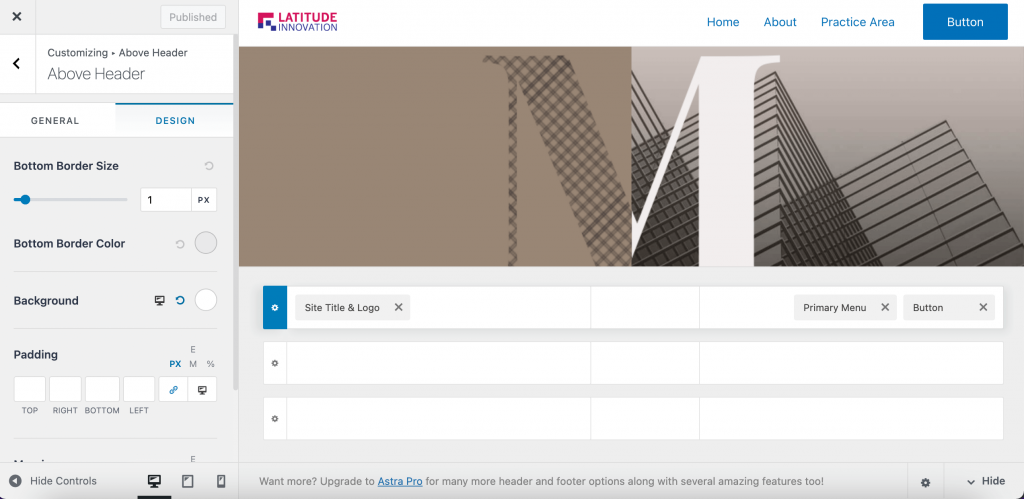
From here, you can customize the header height, border size, background, padding and margins.
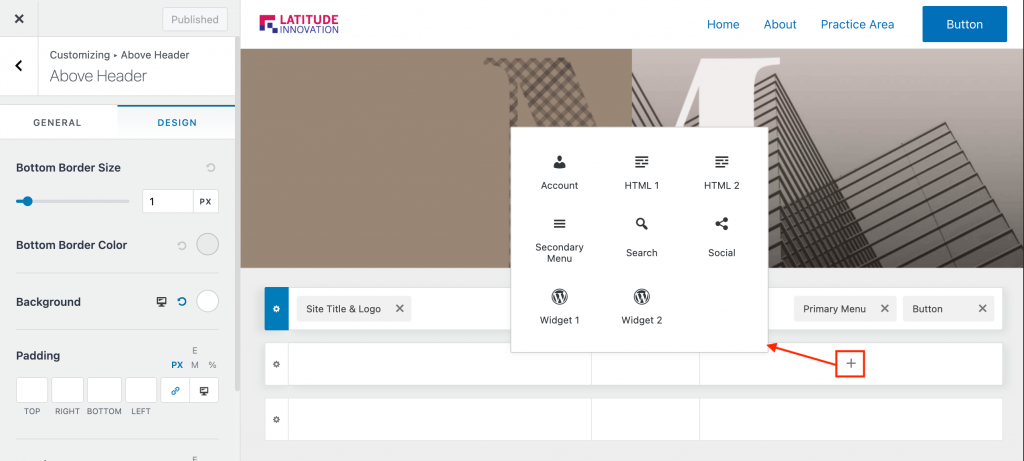
Also, notice how each header is divided into three sections. You can add and remove header elements from these sections to make them more distinctive. In writing this tutorial, you have access to 12 header elements.
- Site title and logo
- Main Menu
- Button 1
- Button 2 (Pro version)
- Search
- Account
- HTML 1
- HTML 2
- Secondary Menu
- Social
- Widget 1
- Widget 2
- Widget 3 (Pro version)
- Widget 4 (Pro version)
- Big Car
Now, to add a new Header element, hover your mouse over the section and click the “+” button. This will display a list of available elements. Select the one you want to use and it will be added to the header section.
Again, simply click the “x” button next to the header element to delete the header element.
You can also move the title element between title sections with a simple drag-and-drop operation.
All the title elements you use will be displayed in the left menu, directly below the regular tab. Here you can also find the option to change the title type. Free users can only select “Transparent Title”. However, if you are using Astra Pro, you can enable “Sticky Title”.
From here, you can access specific settings for the title element.
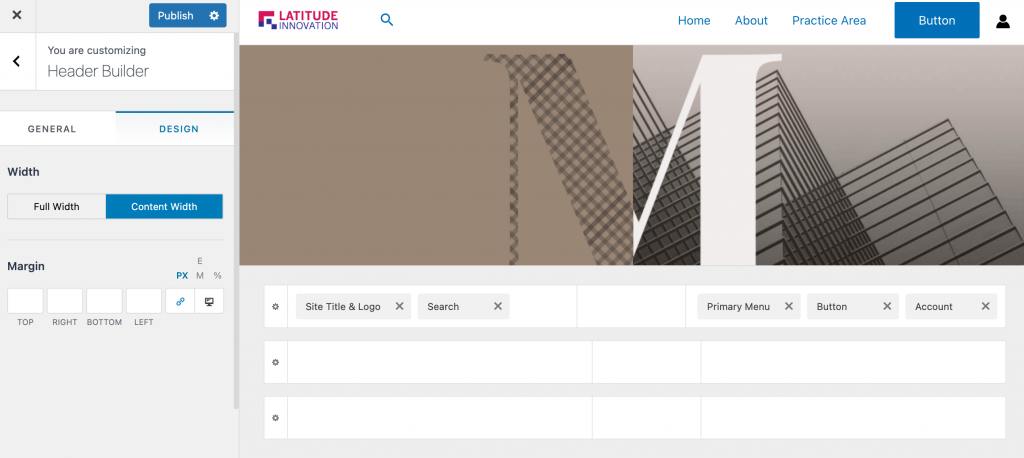
Next to the General tab, we have the Design tab. From here, you can get some basic design options to change the width and margins of the header. Astra Pro users can use more advanced settings.
Astra Header Builder also allows you to fine-tune the appearance of site headers on different screen sizes such as desktops, mobile devices or tablets. To select a different screen size and customize it, use the device selector in the lower left corner of the screen.
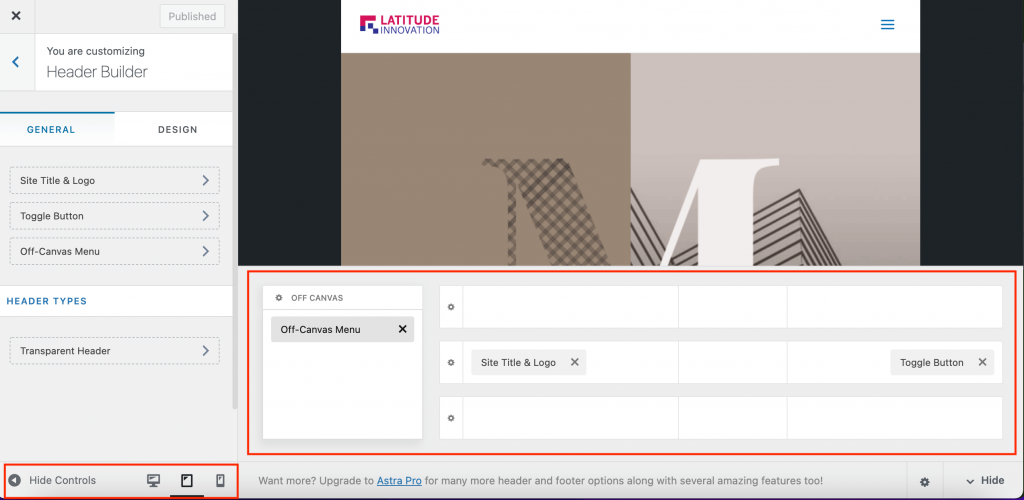
As you can see, on smaller screens, you will see an additional area called “Off Canvas”. This allows you to save space on the header and move some content out of the screen so that visitors can switch between them if necessary.
This is our quick guide on how to create headers using Astra themes. After adding all the Header elements and making the necessary design changes, click the Publish button and that’s it.
Your newly created Astra header is now up and running on your WordPress site.

Last words
Astra is one of the best themes. And, if you are using it, then you are on the right path to maintaining your website.
Astra’s free theme allows you to design beautiful and attractive headers for your pages. There are also options for transparent headers and customizations that can enhance the viewer experience. Overall, the many title customization options in the Astra theme allow you to create stunning titles.
Do you need a website? Feel free to contact us: https://latitudeinnovation.com.my/web-design-service/