Checklist before start website.
Why need to do checklist? Checklist before handover website need to be done to produce high quality websites which make the website user-friendly and accessible without any delay. A well optimised website can be perform well for a wide range of visitors and technically stable and secure.
1. Delete & install plugin
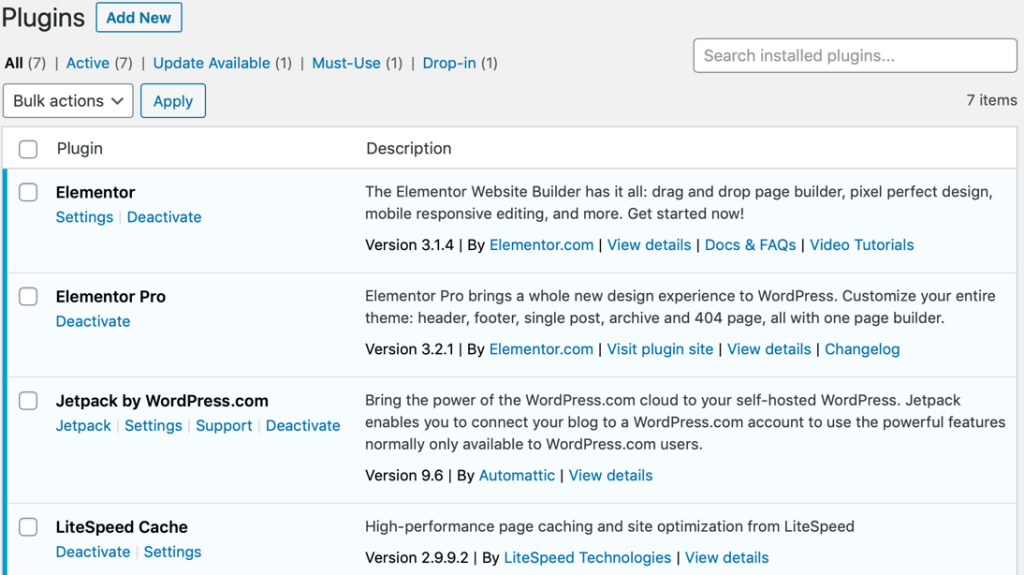
By default, WordPress comes with its own plugin. Only choose the plugins that you wish to use on your site and delete unnecessary plugins to prevent bad performance and poor security. To select your preferred plugins, go to Plugins area in the dashboard and search for the plugins you wish to use. Then, install and activate the selected plugins. Image below shows the example of plugins on WordPress.

2. Check permalink
To check the permalinks, go to the settings, then select permalinks and make sure the post name is selected. After select the permalink structure (“Post name”), click “Save Changes” located right below the settings page to save the permalink structure.

3. Don’t allow search engine index
Before you working on a development site, it is better to disable the search engine visibility to prevent Google to index your under construction or maintenance mode page. To do so, go to (Settings -> Reading) and checked the “Discourage search engines from indexing this site”. Then, click “Save Changes”. Whenever you are done with your website, unchecked the “Discourage search engines from indexing this site” and save the changes to allow Google from indexing your live website.

4. Set Up Homepage
You need to create one page to set it as home page. Then change “Your homepage displays” to static page (Settings -> Reading). Select your home page from the dropdown list. After done, click “Save Changes”.

5. Change site title, tagline
For this section, you can change the site title and tagline in the general settings. A strong and powerful word play an important role in Search Engine Optimisation (SEO) and attract visitors to visit your website. This changes can be made by going to (Settings-> General) and edit the site title and tagline related to your business.

6. Set favicon, Logo
Site icon/ favicon usually displayed at bookmarks, URL bar, tabs in website. This can be done by going to (Appearance -> Customize -> Site identity) and update your business logo. The image that you set under “Site icon” will be used as your site’s favicon. After done, click “Save & Publish”. Favicon can helps to improve user experience when visitors browse your site and increase brand awareness. Having a favicon on your website is important because it make your site distinguishable on browser tabs and gives a professional look to your website.

7. Setup Jetpack
To setup Jetpack in WordPress, you can click (Dashboard -> Plugins -> Add New). Then, search and install Jetpack. Connect Jetpack to WordPress.com and approved the connection. For the settings in Jetpack, enable the downtime monitoring to get notify when your site going down. Enable brute force attack protection will block IP from accessing and limit the HTTP requests before they slow down your site.

In conclusion, I hope that this article gives you the overview on things to do before start website and the listed steps in the checklist should make an improvement on your next project.
Do you need a website? Feel free to contact us: https://latitudeinnovation.com.my/web-design-service/

