What Is The Blog Archive?
In Elementor, the term “Blog Archive” refers to the template or layout used to display a collection of blog posts on a WordPress website. It is specifically designed for showcasing a chronological list of blog posts, allowing visitors to browse through past entries.
When you create a blog archive in Elementor, you can design the layout and appearance of the archive page. You have the flexibility to customize the elements included in the archive, such as post titles, featured images, excerpts, author information, publication dates, categories, tags, and pagination.
How To Set The Blog Archive
Below Are The Following Steps :
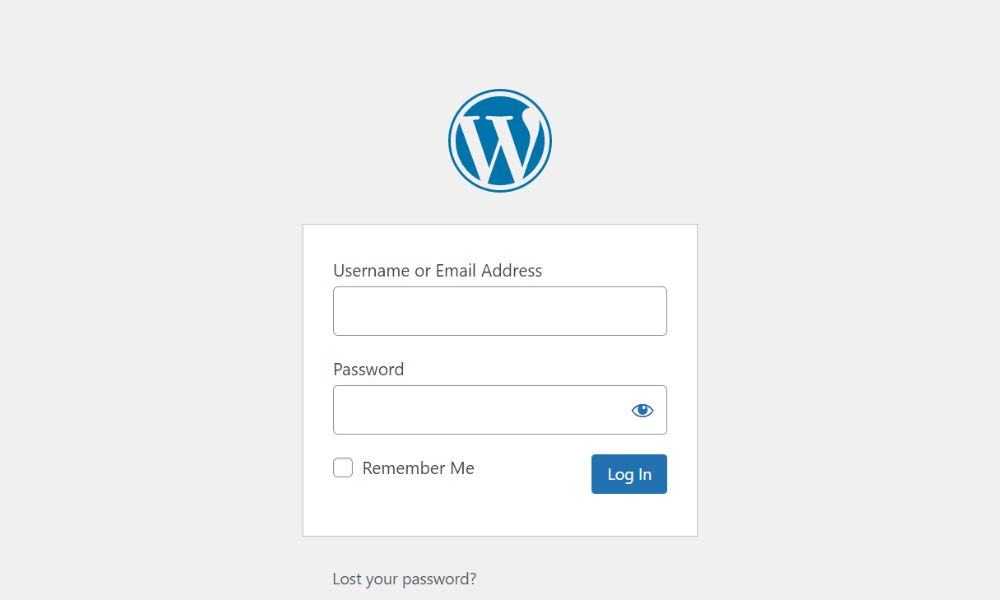
Step 1 : Login to WordPress Dashboard [https://website.com.my/wp-admin]

Step 2 :Create a new page for the blog archive: In the WordPress dashboard, go to “Pages” and click on “Add New.” Give the page a title, such as “Blog Archive.” After that, publish it.

Step 3: Go back to dahsboard and click “templates” and “add new”

Step 4: Choose the template type as ” Archieve”

Step 5: Design the layout based on your preferences. Drag and drop various widgets and add elements such as post title, text description and archive post.

Step 6: Set display condition as ” post archive” and click on “save & close” button.

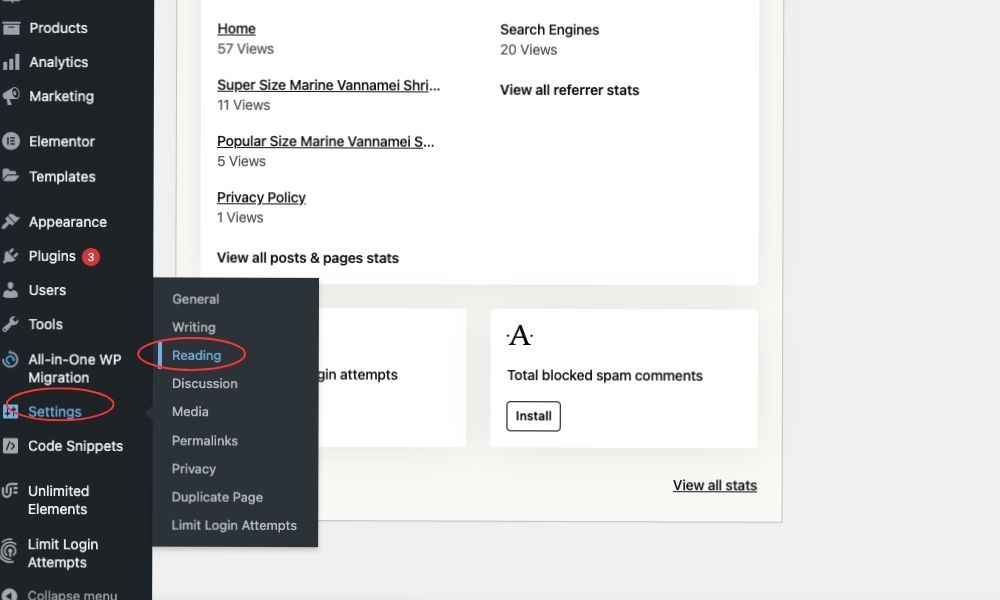
Step 7: Go back to dashoard. Click on “setting” and then click on ” reading” .

Step 8: Finally, go to post page part and select ” Blog”. Also, dont forget to click on “save change” button


